Friday evenings in our house have become a tradition...homemade grilled pizza!
Yes that's right! I said GRILLED PIZZA!!!!
This recipe looks like a lot of work, but I am making it lengthy to explain it to you. Please don't be afraid to try this....it really does not take as long as it appears. Making the dough takes 15 minutes. When it is rising, you can sit and read a book or you can make homemade sauce (see below) which takes about 10 minutes of prep. Cooking the pizza on a hot grill takes a total of 20 minutes, that includes removing it to put your toppings on and then putting it back on the grill.
Here's the how to.....
Sally and Renee this one's for you!!!!
Oh, and if you don't have a stand mixer with a dough hook, you can still make this...just knead it by hand for 10 minutes!
Or go buy one!
No seriously, the kids will love this part!
Ingredients:
3 t active dry yeast
2 t sugar
1.5 cups warm water (105*)
2 1/4 cups cake flour
2 1/4 cups white flour
2.5 t salt
4 T olive oil
Cooking Spray
Parchment Paper
Pizza Toppings
Sauce (store bought crushed tomatoes or homemade)
Mozzarella Cheese
In a small bowl, or measuring cup whisk water, sugar and yeast together. Let stand for 5 minutes or until bubbly.
If it doesn't get bubbly don't use it, it won't work. Either your yeast is bad or your water was too cold or too hot. Start over with a new packet. (hot tap water is usually just right).
In the mixing bowl of your stand mixer, add flours and salt measuring exact amounts. Add olive oil to yeast mixture and pour into bowl over flour.
Using your dough hook (or your hands!) knead until dough pulls away from sides and sticks to hook. You will be able to pull it right off. You may need to add a bit more flour or water sprinkles.
Pull dough off hook, hold it in your hand, spray the bowl with cooking spray (pam) and then place the dough back in the bowl. Cover with plastic wrap and let it sit until it is double in size....or triple!!! About and hour or two.
Sit back and relax with a cocktail, or make your own sauce!
Now you are ready to roll! Split dough in half so you can make 2 pizzas. Roll in between 2 sheets of parchment paper sprayed with cooking oil. Roll it as thick or as thin as you like it.
Now for the photo version!
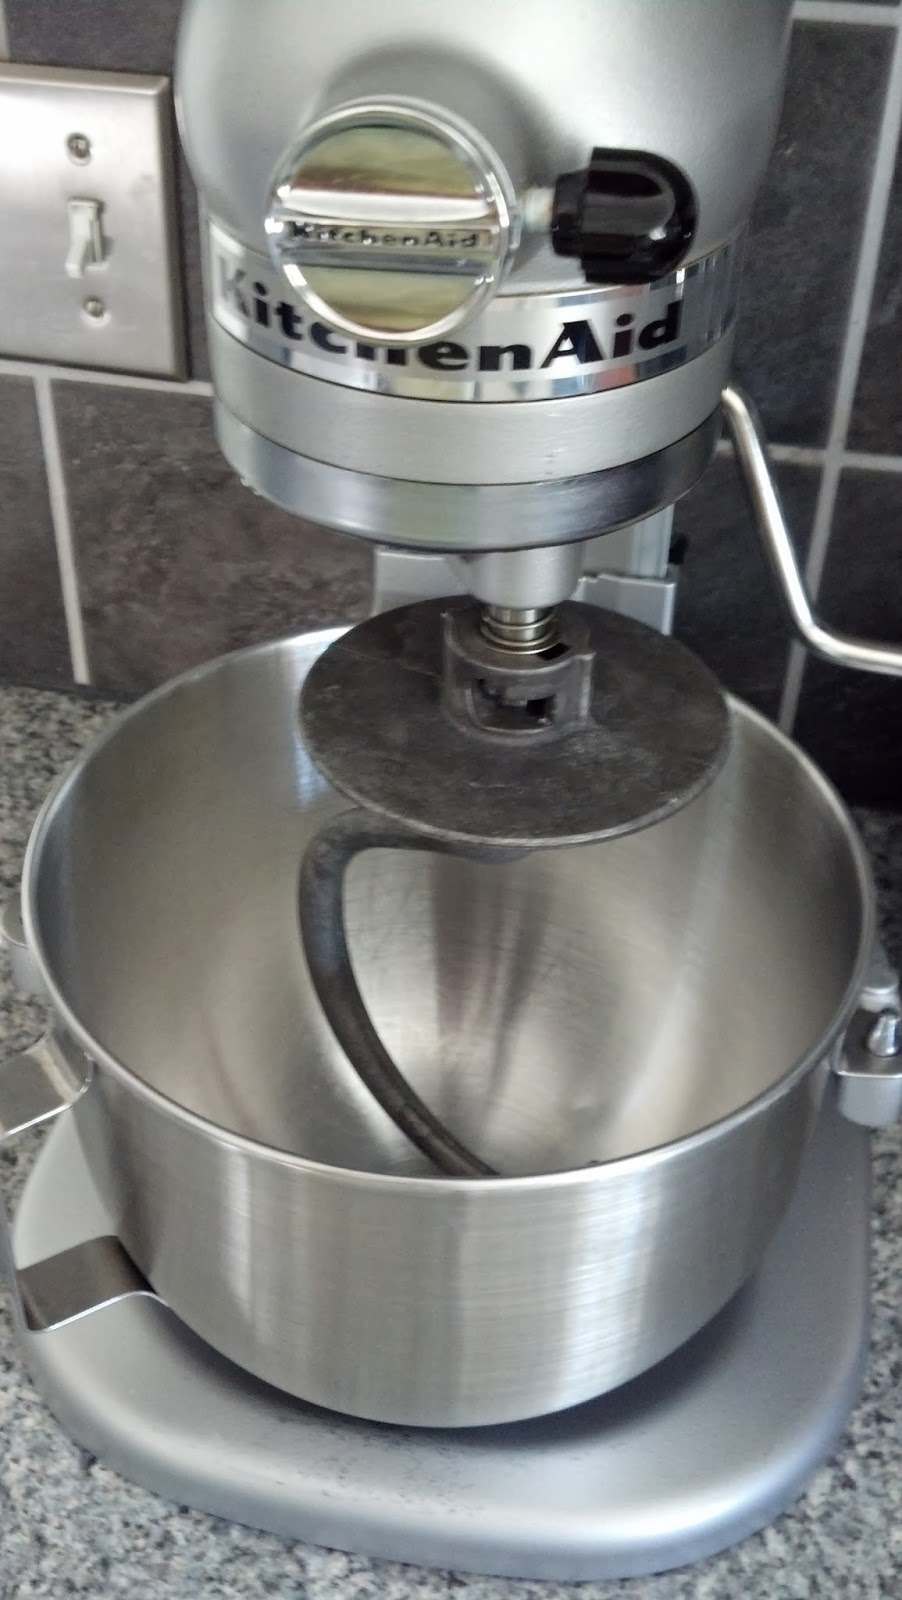
Grab your mixer and your dough hook!
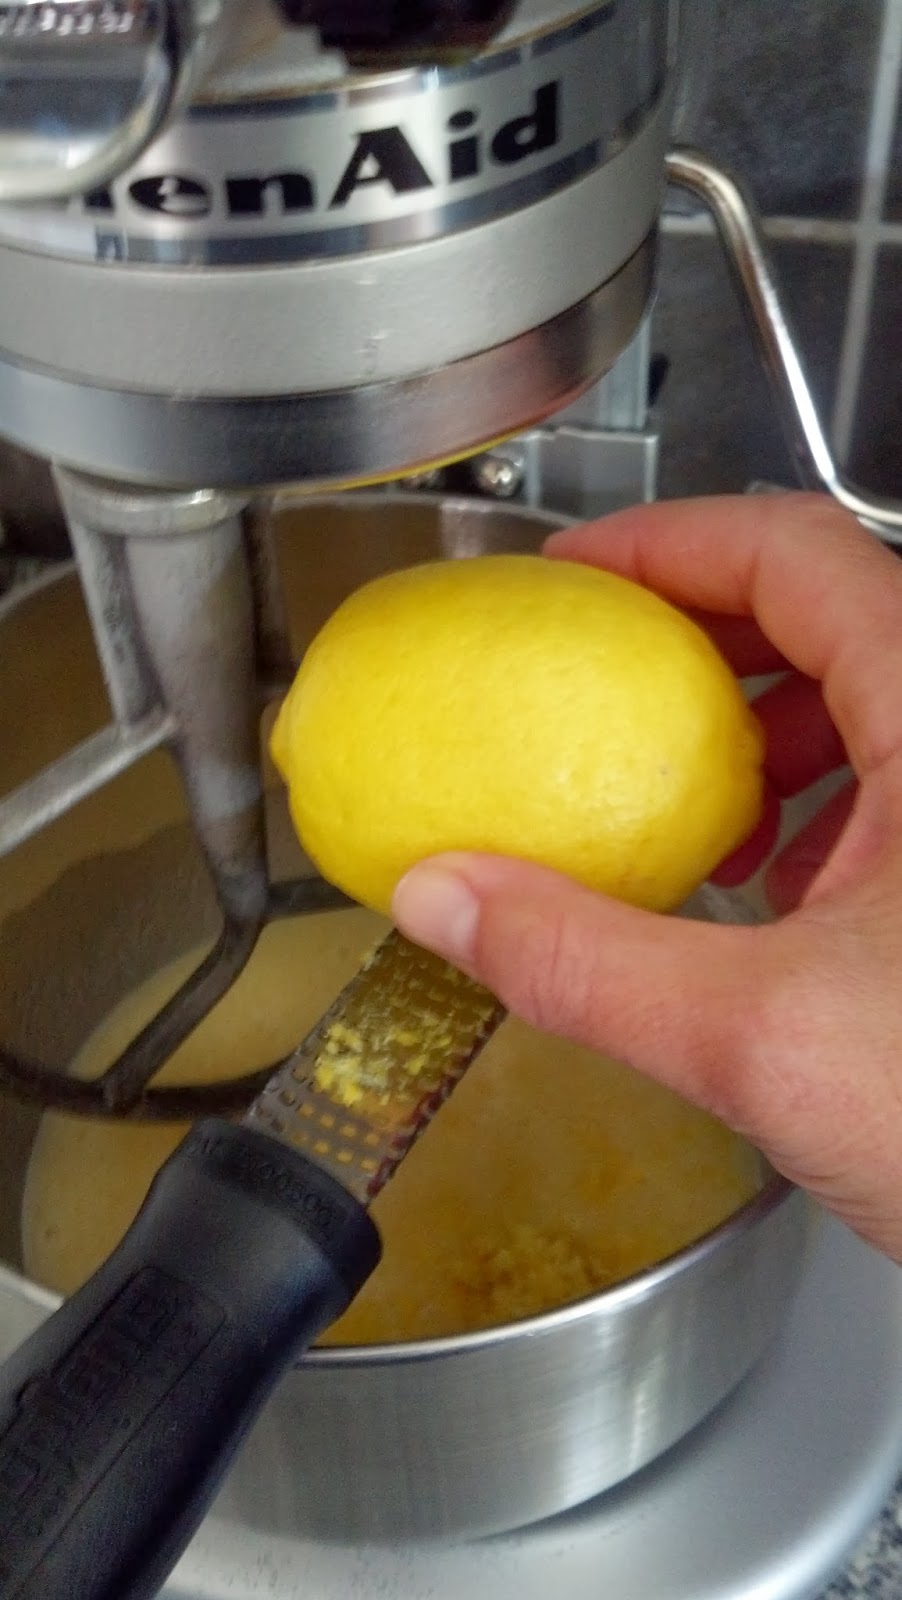
Gather all of your ingredients...
This is the yeast I find works best. Find it in the baking isle. One packet is perfect for this recipe...no need to measure!
I use this cake flour, also found in the baking section.
Whisk the yeast....
Watch it bubble....
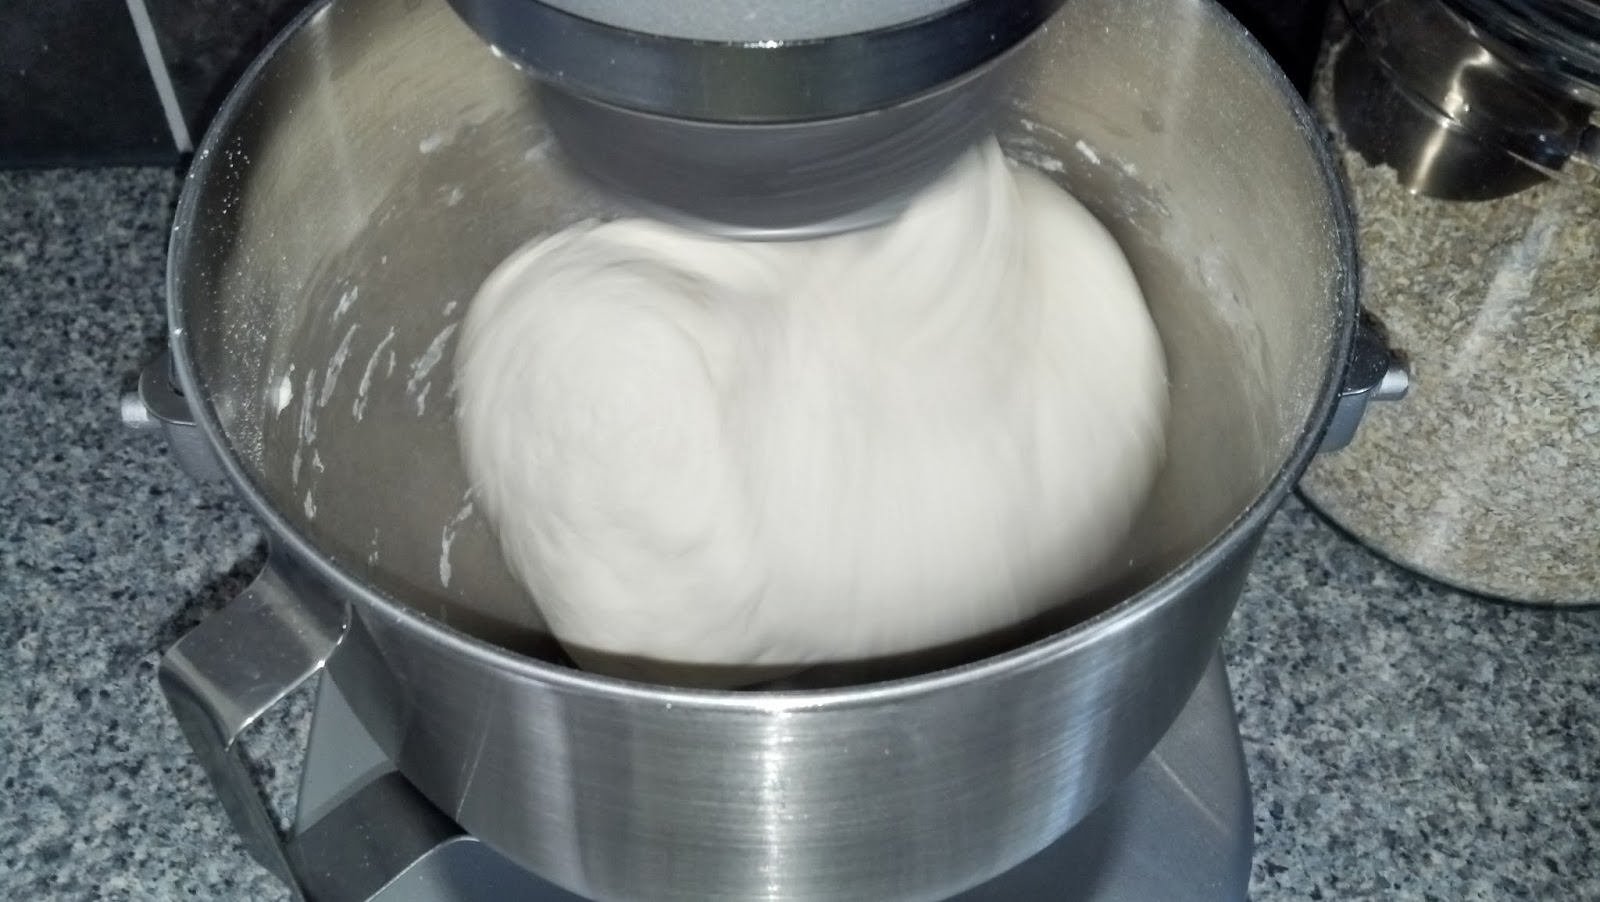
Start to mix....it should really only take about 4 minutes. The dough will start to pull away from sides and form a ball on the hook. It should not really stick to your fingers too much, if it does add a bit more flour.
(sally....about a tablespoon at a time!)
The dough will start to lick the bowl clean!
Ok...now pull it off the hook, spray the same bowl with cooking spray (I use the same bowl for less mess, if you want to use a new bowl, feel free!)
Now cover it up and let it rise!
Once it doubles or triples, split it in half.
Cut 4 pieces of parchment paper.
Give them a quick spray with oil.
Now put the dough on one piece of parchment and lay another piece on top.
Do the same with the other ball of dough.
NOW ROLL!
Keep on rolling until you get it as thick or as thin as you like it....it will crisp up really nice if you roll it thin. When doing this, keep in mind the size of your grill!
TIP: If you want to make individual pizzas, just divide the dough into 4 or 6 pieces and roll just the same!
I usually do 2....
Now you are ready to transfer them to the grill (or oven if you'd rather). We preheat our grill to about 500 degrees.
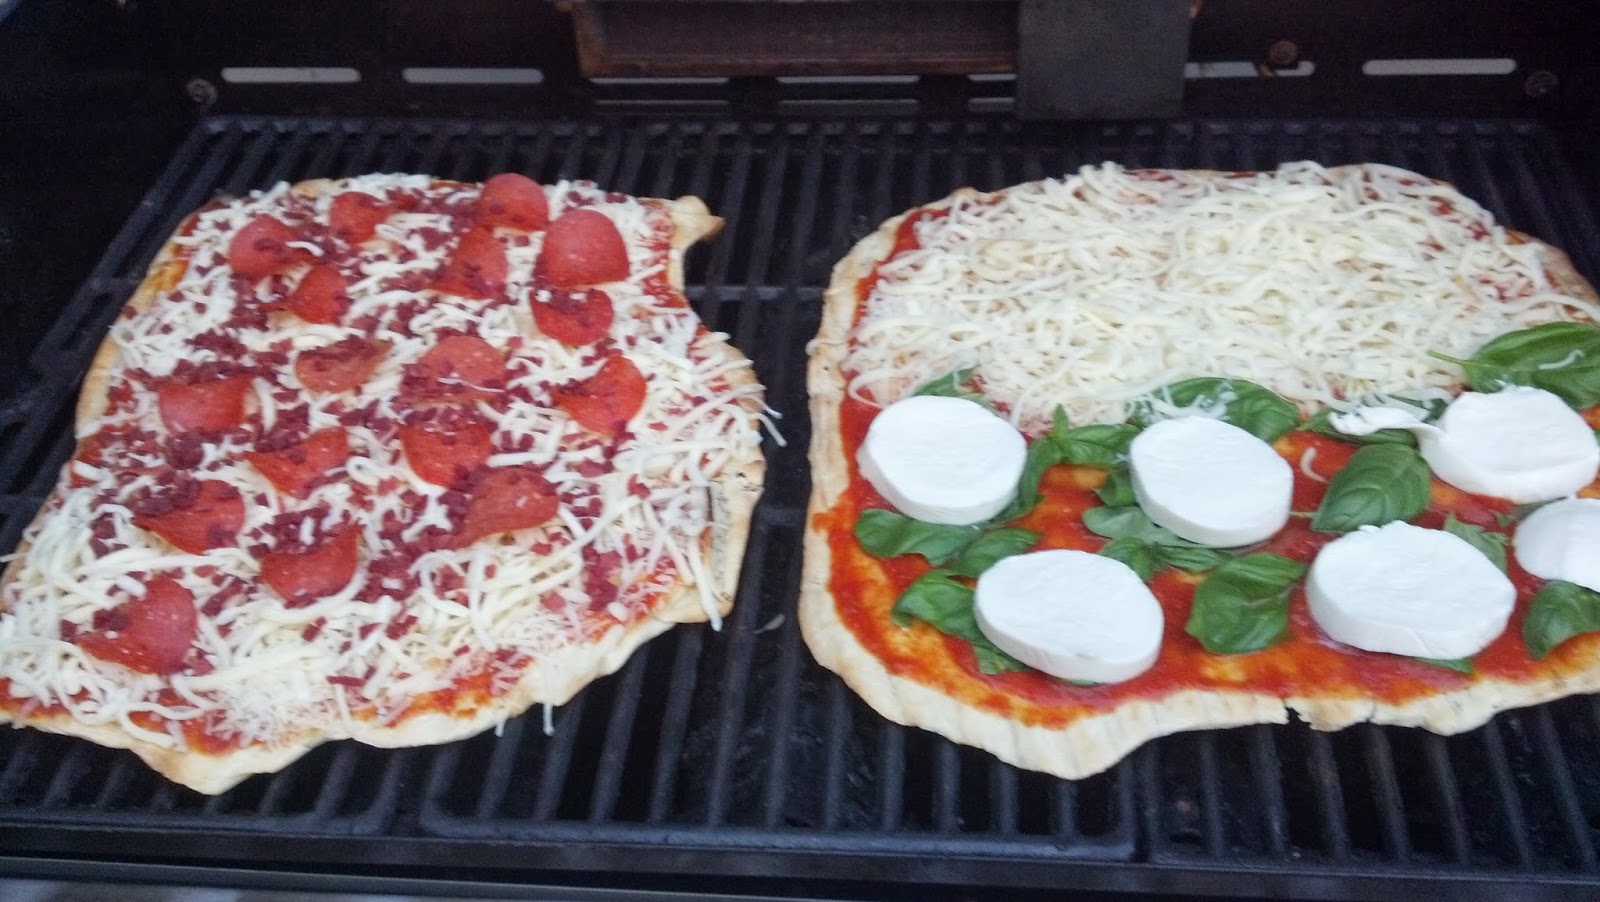
Place the dough on a cookie sheet and peel the top layer of parchment paper off. Grab the bottom piece of parchment paper and FLIP the pizza dough onto one side of the grill and then quickly peel off the parchment that is now on the top. Do the same with the other dough and they should look like this.....
Now close the lid and grill for about 5 minutes.
They are ready to flip with a large spatula or cookie sheet when they start to easily peel off the grill.
When ready, flip and grill the other side 5 minutes.
Keep an eye on them if your grill cooks unevenly, you might have to turn them a bit so they don't burn.
Ok...now slide them each onto a cookie sheet, return to kitchen. Gather the gang and top these pizzas with whatever you like!
Place them back on the grill for about 5 minutes or until cheese is melted!
Some topping ideas...
Pepperoni
Bacon
Basil/Tomato/Mozzarella/Balsamic
Taco
Buffalo Chicken
Pulled Pork
BBQ Chicken
Ham/Spinach/Pineapple
Mushroom Cheesesteak
Grilled Chicken
The choices are endless.....share some of your favorites in the comment section....I would love to try them!
ENJOY!!!!
If you are adventurous and want to make your own sauce while the dough is rising, here is how I do it!
I had a lot of tomatoes this summer, just not a lot at once. So making up a quick batch of sauce every Friday night was a quick easy way to use the tomatoes. Oh my did it change the way the pizza tastes! It was amazing!
Oops! I don't really have measurements for this....but here's what I do....(sorry Sal)!!!
Ingredients:
Heirloom tomatoes!
Gather yourself some organic heirloom tomatoes...or just the best you can find. Roughly 5 pounds lets say!
Don't mind the cucumbers or peppers in these photos....I don't use them in the sauce, I just happened to pick them at the same time! My tomatoes were amazing this year!
Main objective here....quick and simple!
1. Wash tomatoes.
2. Chop in half and then half again.
3. Place in a large pot with about an inch of water on the bottom to prevent burning.
(my pot was 5.5 quarts and was filled up to about an inch from the top. this should help you decide how many tomatoes you will need)
4. Bring to a boil and continue to boil until soft and falling apart. About 15 minutes.
Ok...now you will need to have a food mill....the one I have is OXO brand and I love it for quick things like this. There are plenty out there on amazon or ebay, take your pick!
Place your food mill with finest grate attached over another small saucepot. Ladle the hot tomatoes and juice into the mill. Turn the crank until all juice and pulp are extracted and you are left with just the "guts"! This should take about 3 minutes.
Throw out the guts.
Bring sauce back up to a boil and let boil until it evaporates by about half 15 minutes or so, if you have more time, just let it boil as long as you can to get it to the thickness you desire. The sauce will thicken up nicely. I add basil sometimes, or a bit of fresh garlic. You don't have to! This sauce made with fresh tomatoes has such an amazing flavor you will love it. I mean eat it by the spoonful love it!
Look at that color!
If you are lucky, you might have extra that you can freeze for next weeks pizza!!!! Or add a little milk and some croutons and now you have tomato soup!!!
Let me know how it works! Please share your topping ideas! I love to try new ones!
HUGS....
Stacey